Thursday, October 27, 2011

Bookbinding Part I: Simple Accordion and Pamphlet Books


Financial Investment: $-$$
Time Commitment: T-TT
Space Requirement: 0
Skills Required: none

After learning how to letterpress text or artwork that I might want to bind in a book, the next step was to learn how to make a book.  So I signed up for the Bookbinding I class with Shanna Yarbrough at The Center for Book Arts (read my review of CBA here).  This time I took a series of 10 classes held on Tuesday nights from 6:30 – 9:30 pm. The class taught how to make several types of books, including accordion, pamphlet, modified case, French flat back case, and English rounded back case.   Because each type of book is very different and has varying levels of complexity, I’ve broken up the review for bookbinding into two parts: one for the simpler accordion and pamphlet books and one for the more complex “case” books.  This entry will discuss accordion and pamphlet books.

The first class taught accordion books.  If you have ever made a paper fan, you can make an accordion book.  Because this type of book is relatively easy to make, much of our class time focused on understanding the different types of paper, grain direction of paper, proper methods for folding and cutting, and appropriate adhesives to use.  One of the most important lessons we learned was that no matter what type of paper you use, make sure the covering, binder board (think chip board if you do any scrapbooking or paper crafts), and text block (pages of the book) are in the same grain direction to prevent bowed or misshapen books.  After learning the key techniques, we made an accordion text block with paper-covered backing boards.

During the second class, we learned about different types of pamphlet books.  Pamphlets, as you might imagine, are the simple books made from stacking a few sheets of paper and folding them in half.  The folded edge serves as the spine, which is sewn to keep the pages together (trust me, anyone could do this minimal amount of sewing).  What distinguishes one pamphlet from the next is the way the cover for the pamphlet is made.  You can skip the adhesives by simply making a paper cover that is long enough on both ends to wrap around the first and last pages of the text block, and sew it on when you sew the pages together.  Or you can make the paper cover longer on the back cover side, trim it to look like an envelope flap, wrap it around the closed book, and tuck it into a slit cut on the front cover.  

We covered our pamphlets with backing boards, i.e., made it a hardback.  We used one big piece of bookcloth and glued two pieces of binder board on with enough space in between for the spine.  Then we lined the inside of the covers with decorative paper. 

Below are pictures of both the pamphlet (left) and accordion (right) books that I made:


As you can see, accordions and pamphlets are relatively simple to make and don’t require a lot of materials, time, or space.  Unlike some crafts where you are required to use special materials, the cost of materials depends completely on the types of materials that you select.   You don’t have to buy many special tools, and you can use inexpensive materials for a simple book or use more expensive materials to make an elaborate book.  You also have considerable control over the amount of time you want to invest in the project.  For example, if you are pressed for time, you can make a paper cover instead of a hard cover.  These projects are great for busy people because there are easy stopping points, allowing you to work for short increments of time, such as 30 minutes to an hour.  Overall, I made each book during one 3-hour class, which also included a lot of instructing time.  As for the amount of space required for making these books, the size of your average kitchen table is sufficient.

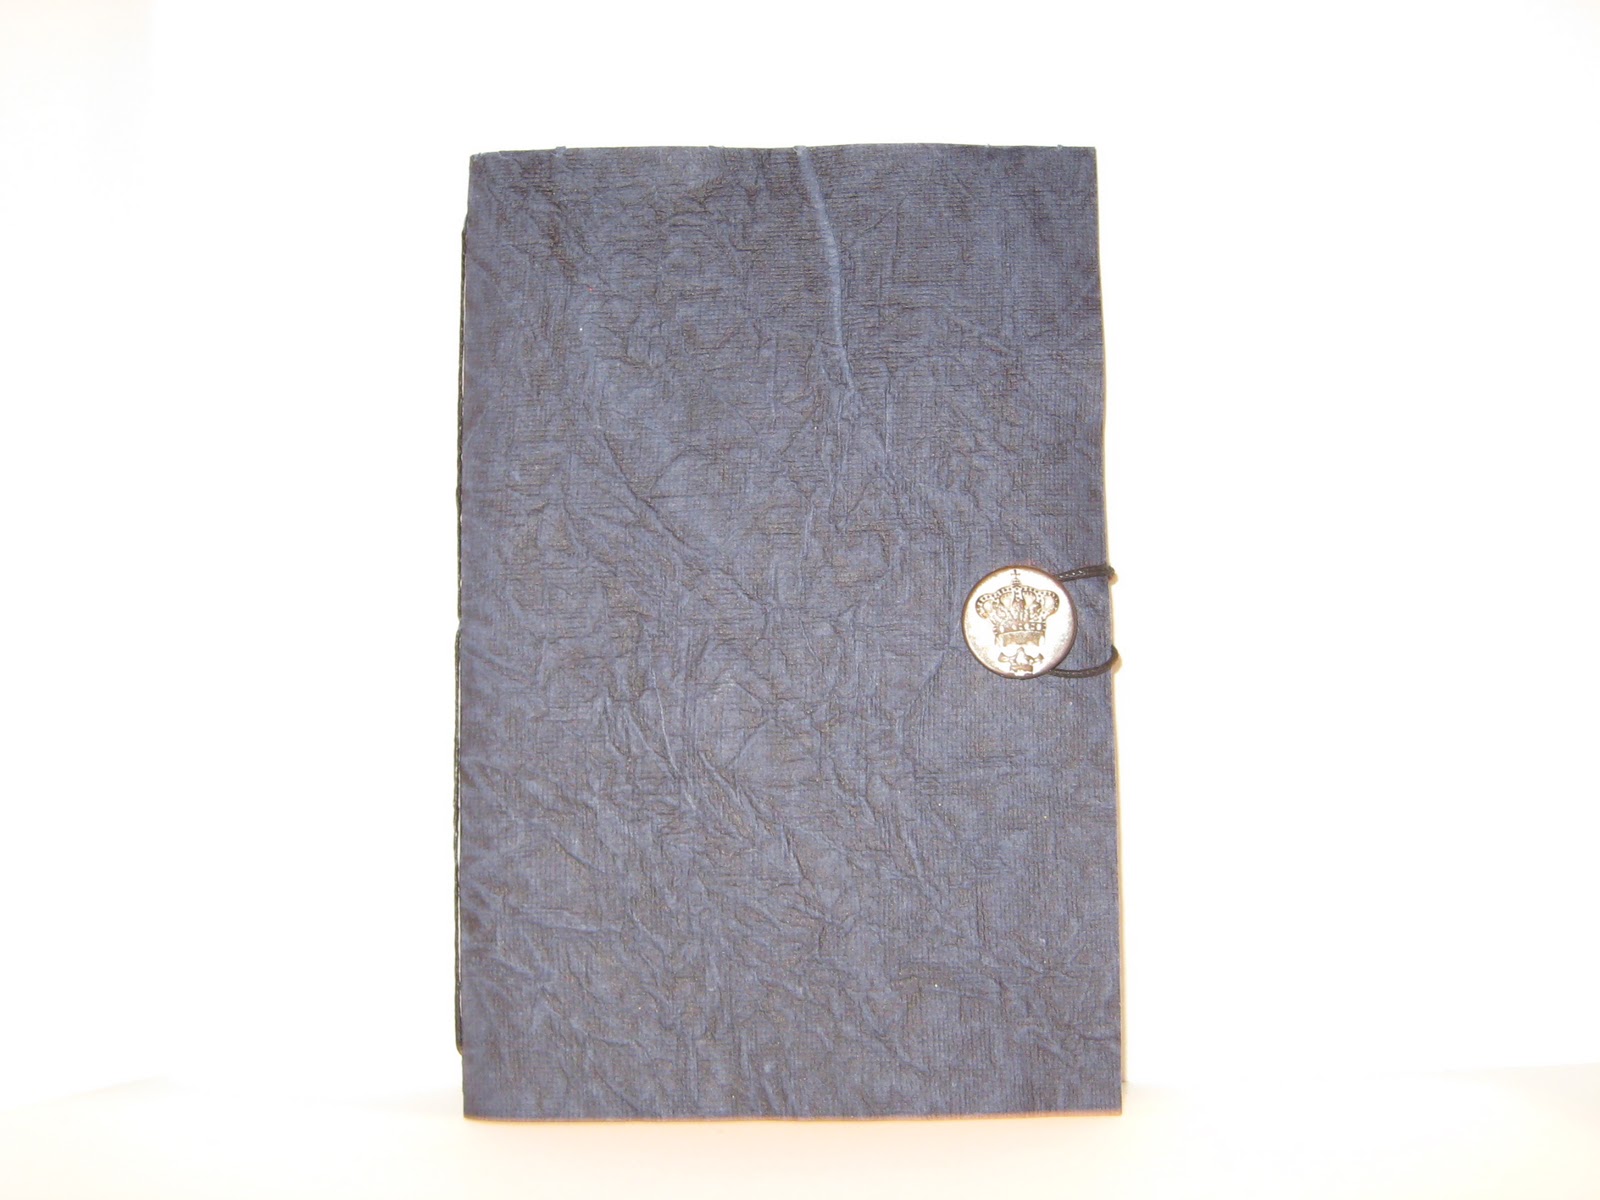
After learning how to make a pamphlet book, I used my newly acquired skills to make invitations to a party I threw for my husband to celebrate his birthday and election to the partnership of his law firm.  Because of my busy schedule, I couldn’t make all 75 of the invitations I needed at one time.  I was, however, able to assemble the unique, personalized invitation in stages.  And it was all done on the “island” in our kitchen.  Below are pictures of the invitation:


Stay tuned . . . my next review will cover the more complex bookbinding techniques.

Tuesday, October 11, 2011

Letterpress Printing


Financial Investment: $$$$
Time Commitment: TTTT
Space Requirement: OOOO
Skills Required: if you want to do anything other than text, some graphic design or drawing ability (i.e., you have to be able to create what you want to print)

Letterpress printing is an old style of printing that was used mainly from the mid-15th century until the 19th century.   Today, it is mainly used in high-end stationery, such as invitations and business cards.  You would recognize it for the distinct impression made in the paper by the image or text, which is created by protruding text or images that are inked and then pressed into the paper with pressure.  Printing is done with the help of large presses, such as a Vandercook, which is a cylinder proof press, or treadle platen presses, though tabletop platen presses are available.

I took the Letterpress I – Contemporary Letterpress Weekend Workshop with Amber McMillan at The Center for Book Arts.  If you know me, you won’t be surprised to hear that the first art I chose to learn seemed to be the most complicated and most expensive.  The class lasted 6 hours each Saturday and Sunday for three consecutive weekends and cost $540 for members and $565 for non-members.  The class taught how to use both the Vandercook and platen presses, hand set type, prepare a digital image to be sent out for polymer plate processing, process a plate by hand, and of course, print.

Hand setting type is the painstaking process of laying out each letter (known as “type”) and every space of your project by hand.  Once you determine what text you want to print and how you want to lay it out, you have to pick each of the letters of type and place them in something called a composing stick.  This can be quite tricky, as the letters get placed upside down and backwards.  One time I mistakenly placed a “u” in the place of an “n.”  After printing it, I had to undo my setup, fix the letter, and redo the setup.  

Below is an excerpt from “The Fountainhead” that I printed using metal type:


As a contrast, below is a date I printed using large wood type:


We were also given the opportunity to create a modern polymer plate to print our own design.  However, since I had no drawing, graphic design, or other “artistic” background, I simply made a business card for my sister to learn the process and compare it to hand-setting type.  In a nutshell, we had to create a digital image, such as a PDF, to submit to a company that would produce the polymer plate.  Below is a picture of the polymer plate and the text of the business card that was printed using the plate (I purposely blurred personal info here):


Next, we created our own printing plate by hand.  To do this, we took digital images (I used a picture taken at my wedding, but some scanned drawings they had created), changed them to black and white images if a color image was used, increased the contrast, inversed the color, and printed them on a transparency film using an ordinary office laser printer.  The films were then used to expose the polymer plate in a light box so that the parts corresponding to the black portions of the film could be washed away, while the white (clear on the transparency) portions would remain.  The polymer that remained was inked on the press and produced a print of the original black and white image. 

Below are the original picture, the high contrast black and white inverse image, and a side-by-side of the print and the plate:


Overall, I thoroughly enjoyed the class, but as you can see, letterpress printing is not for the faint of heart.  It requires numerous steps, which means a lot of places where things can go wrong, expensive materials and equipment, and huge time commitment (set-up and cleaning alone can take over one hour).  Although the class may seem pricey, I believe it is well worth the 36 hours of class time, use of the equipment, and the materials, which included polymer plates, paper, and ink.

On a final note, I really liked Amber as a teacher.  She’s very mild-mannered and clearly knows her art.  Although we were all new to letterpress printing, she stressed the importance of quality results and perfecting the printed image.  She has her own letterpress and design business (Post Editions).  I’m sure that her clients are happy with her attention to detail.